| hexj9 | 2021-09-17 17:57 |
|
Windows UI Library 2.7 is the latest stable version of WinUI that can be used for building production UWP applications (and desktop applications using XAML Islands). The library is available as a NuGet package that can be added to any new or existing Visual Studio project. Note For more information on building Windows desktop and UWP apps with the latest version of WinUI 3, see Windows UI Library 3. Download and install the Windows UI Library
Open an existing project, or create a new project using the Blank App template under Visual C# -> Windows -> Universal, or the appropriate template for your language projection. Important To use WinUI 2.7, you must set TargetPlatformVersion >= 10.0.18362.0 and TargetPlatformMinVersion >= 10.0.15063.0 in the project properties. In the Solution Explorer panel, right click on your project name and select Manage NuGet Packages. 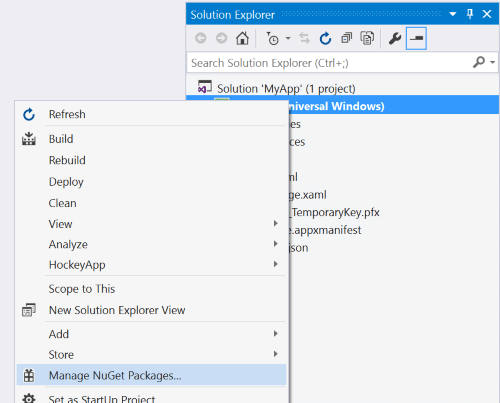 The Solution Explorer panel with the project right-clicked and the Manage NuGet Packages option highlighted. In the NuGet Package Manager, select the Browse tab and search for Microsoft.UI.Xaml or WinUI. Select which Windows UI Library NuGet Packages you want to use (the Microsoft.UI.Xaml package contains Fluent controls and features suitable for all apps). Click Install. Check the "Include prerelease" checkbox to see the latest prerelease versions that include experimental new features. 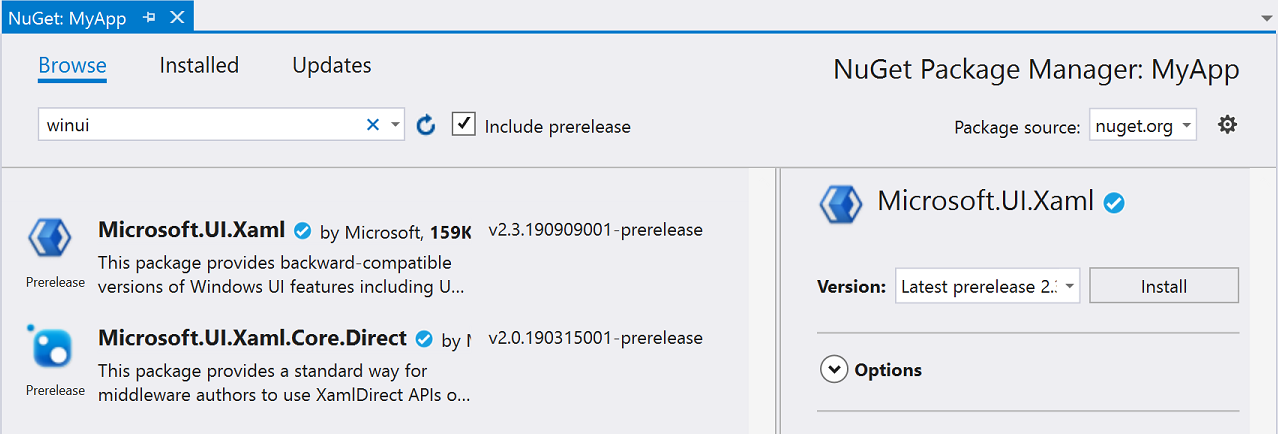 The NuGet Package Manager dialog box showing the Browse tab with winui in the search field and Include prerelease checked. Add the Windows UI (WinUI) Theme Resources to your App.xaml file. There are two ways to do this, depending on whether you have additional application resources. a. If you don't need other application resources, add the WinUI resources element <XamlControlsResources as shown in the following example: <Application x:Class="ExampleApp.App" xmlns="http://schemas.microsoft.com/winfx/2006/xaml/presentation" xmlns:x="http://schemas.microsoft.com/winfx/2006/xaml" RequestedTheme="Light"> <Application.Resources> <XamlControlsResources xmlns="using:Microsoft.UI.Xaml.Controls" /> </Application.Resources></Application>[/pre]b. If you need more than one application resource, add the WinUI resources element <XamlControlsResources in a <ResourceDictionary.MergedDictionaries> as shown here: <Application x:Class="ExampleApp.App" xmlns="http://schemas.microsoft.com/winfx/2006/xaml/presentation" xmlns:x="http://schemas.microsoft.com/winfx/2006/xaml" RequestedTheme="Light"> <Application.Resources> <ResourceDictionary> <ResourceDictionary.MergedDictionaries> <XamlControlsResources xmlns="using:Microsoft.UI.Xaml.Controls" /> <ResourceDictionary Source="/Styles/Styles.xaml"/> </ResourceDictionary.MergedDictionaries> </ResourceDictionary> </Application.Resources></Application>[/pre]Important The order of resources added to a ResourceDictionary affects the order in which they are applied. The XamlControlsResourcesdictionary overrides many default resource keys and should therefore be added to Application.Resources first so that it doesn't override any other custom styles or resources in your app. For more information on resource loading, see ResourceDictionary and XAML resource references. Add a reference to the WinUI package to both XAML pages and/or code-behind pages.
xmlns:muxc="using:Microsoft.UI.Xaml.Controls"[/pre]In your code (if you want to use the type names without qualifying them), you can add a using directive. using MUXC = Microsoft.UI.Xaml.Controls;[/pre] When you add a NuGet package to a C++/WinRT project, the tooling generates a set of projection headers in your project's \Generated Files\winrt folder. To bring those headers files into your project, so that references to those new types resolve, you can go into your precompiled header file (typically pch.h) and include them. Below is an example that includes the generated header files for the Microsoft.UI.Xaml package. // pch.h...#include "winrt/Microsoft.UI.Xaml.Automation.Peers.h"#include "winrt/Microsoft.UI.Xaml.Controls.Primitives.h"#include "winrt/Microsoft.UI.Xaml.Media.h"#include "winrt/Microsoft.UI.Xaml.XamlTypeInfo.h"...[/pre]For a full, step-by-step walkthrough of adding simple support for the Windows UI Library to a C++/WinRT project, see A simple C++/WinRT Windows UI Library example. Contributing to the Windows UI Library WinUI is an open source project hosted on GitHub. We welcome bug reports, feature requests and community code contributions in the Windows UI Library repo. Other resources If you're new to UWP, then we recommend that you visit the Getting Started with UWP Development pages on the Developer portal. Feedback |
|